SSH and PuTTY
Lately I’ve been working with quite a few AWS EC2 Instances which have required me to SSH into them at various points for troubleshooting, so I thought I might as well document a few basics of SSH with key pairs.
Using PuTTY
PuTTY is the most prominant Secure Shell (SSH) client out there as demonstrated by its inclusion by serveral other applications, such as WinSCP. PuTTY can make the process of connecting remotely to a server via SSH (mostly) painless.
Get PuTTY, Pageant and PuTTYgen from here: www.chiark.greenend.org.uk/~sgtatham/putty/download.html and put them somewhere useful – such as a directory in your Dropbox that is on your system PATH.
If you have a linux / unix style machine you can generally connect to it via SSH, often with just your account username and password. This is mostly fine but typing your password every single time you login can get tedious, especially if you’re jumping onto many different servers throughout the course of your day.
However, if you have suitably configured the machines you’re using with an SSH key pair you can SSH into any machine at will with the key exchange taking place behind the scenes. If your private key does not have a passphrase on it, you wont have to enter your password. If there is a passphrase, then you will be prompted for that each time you connect, unless you also configure Pageant to handle that (it’s pretty simple).
Generating a Key Pair with PuTTYgen
To use keys with SSH/PuTTY you will need to generate a pair, PuTTYGen is a tool that sits within the PuTTY ecosystem and serves exactly this purpose.
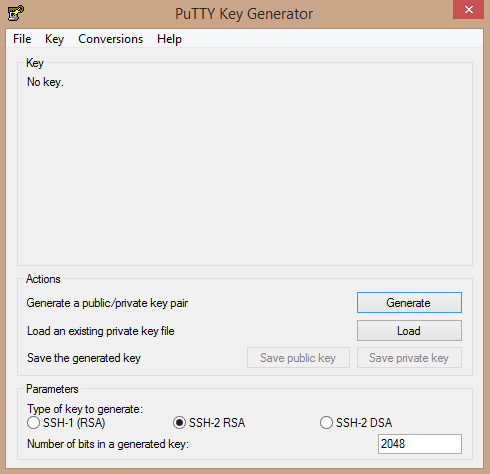
Here’s the initial screen of PuTTYgen, the large blank area is what will be filled in when we generate a key:
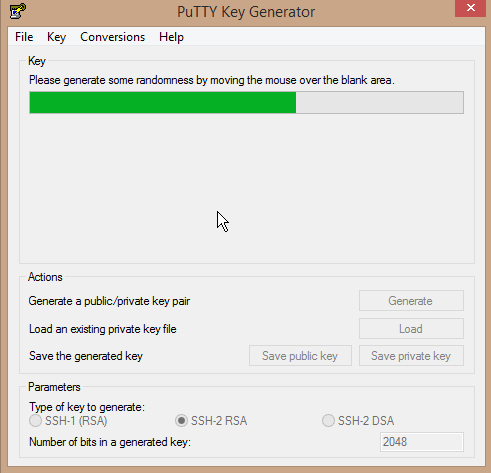
Simply click the Generate button to start the key generation process then, as directed on screen, move the mouse around to provide random input to the generation process:
Here’s a generated key, with a key fingerprint and comment, ideally one should put a decent comment in the key that describes the key’s use e.g. WebServer-UAT-key:
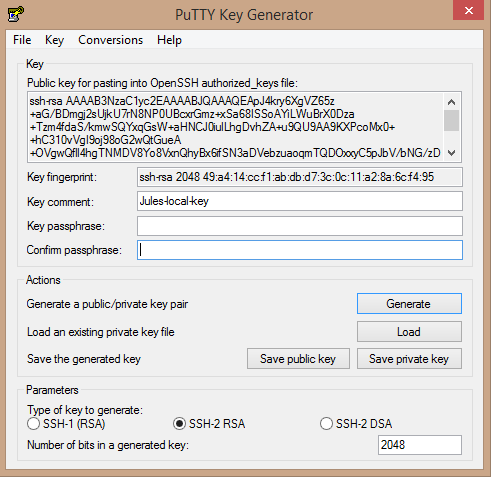
Adding a passphrase will secure you key from use, but when you use it you’ll have to provide the passphrase (unless you use Pageant):

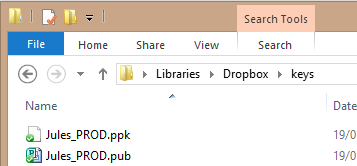
Now you can simply save both the Public and Private keys into separate files, I like <Purpose>-<environment>.ppk or perhaps <Machine>-<environment>.pub for the key names e.g. WebServers_TEST.ppk or AppServers_UAT.pub:
Keep your keys safe
If you’re not using a passphrase on your private key, then anyone with the key can use it, so it makes sense to store it in a safe place.
This location may be something as simple as your home directory on your PC (which is typically not accessible to other users) or in a “secure drive” along the lines of something like Truecrypt (project discontinued, but seems to have been forked as CipherShed) which you can secure with a password and even put in your Dropbox for sharing amongst your computers.
Setup public key on your server
To use a key pair over SSH you need to put your public key on the server in a specific location. This location is a file to which your public key is appended to: /home/scott/.ssh/authorized_keys.
So this is a simple as SCPing your public key to your server, converting the putty generated key to something suitable for consumption by the SSH daemon and then appending the modified key to the authorized_keys file.
Let’s assume you have SCP’d your public key into user home i.e. /home/scott. In one command you can convert the key and append the contents of the key file into the authorized_keys file, like so:
scott@Jules:~$ ssh-keygen -i -f WebServers_UAT.pub >> ~/.ssh/authorized_keysSo this is how our authorized_keys file would then look:

The SSH config needs to be reloaded to take effect:
scott@Jules:~$ sudo /etc/init.d/ssh reloadYou now should probably remove the public key as their is no point in having it hanging around cluttering up your user home, obviously that is assuming it’s backed up elsewhere.
That is it for the server.
Using keys with PuTTY
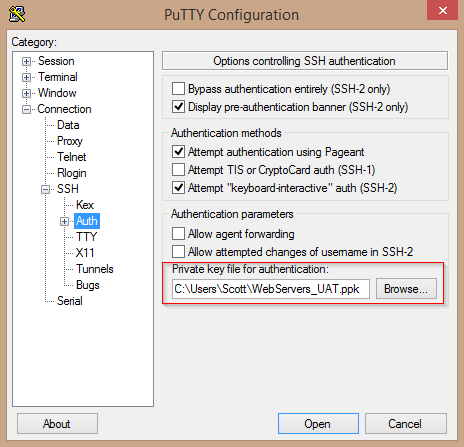
For your server’s session, simply add the private key file in the Connection > SSH > Auth section of the PuTTy configuration screen:
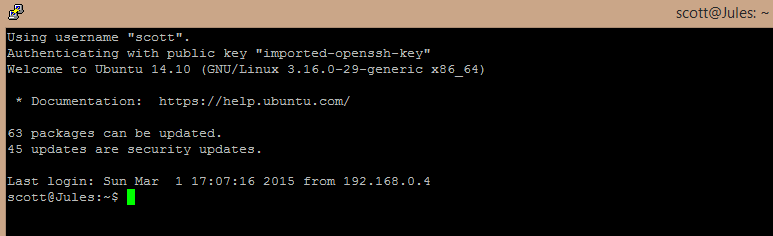
Without any passphrase, you’ll log straight into your server:
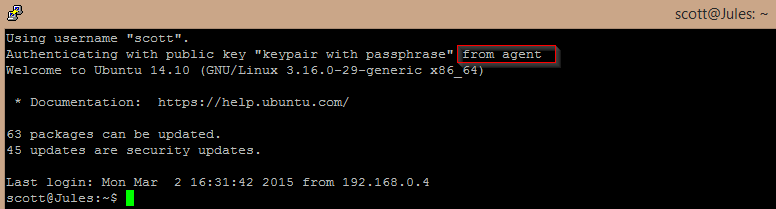
If you had a passphrase on your key, this is what it’d look like:

Using Pageant to make it even easier
If you’ve not put a passphrase on your key, then this step will be somewhat redundant, but if you have, then configuring pageant will save you time.
Pageant is another tool that comes alongside PuTTY and it can easily be made to startup when you start you computer, or perhaps just when you begin some new task that you know you’ll be logging into serveral servers with the same key or the same server multiple times.
When you use a key with PuTTY that has a passphrase set, then it will ask you every single time what that passphrase is. Pageant takes care of the authentication so long as you’ve provided the key’s passphrase once upon startup, and it keeps that information in memory rather than on disk so it is considerably more secure too (supposedly).
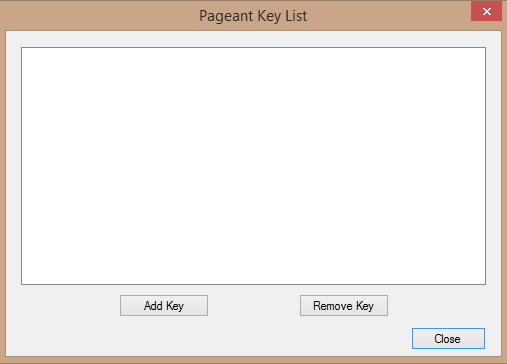
Initially, the Pageant application will be rather minimalist:
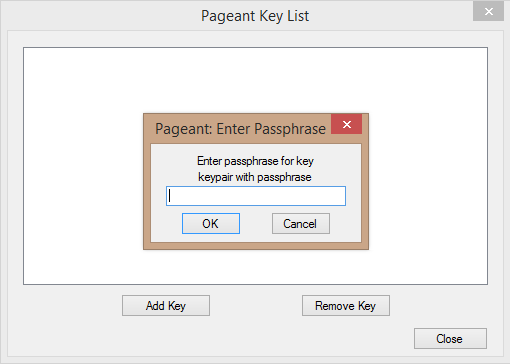
Click the “Add Key” button and choose a private key with a passphrase:
Now you can just launch a PuTTY instance to your server with the relevant private key and you’ll be logged straight in!
AWS Instances
I’ve been developing AWS Cloud Formation templates over the last while and that has entailed an iterative process of SSHing into numerous EC2 instances skimming through logs to work out why something isn’t working as expected. If the instances were stable and were up for a reasonable period it might make sense to save a session in PuTTY to load up for a particular IP, but when one is terminating tens of instances in a day it’s not viable or logical to do so.
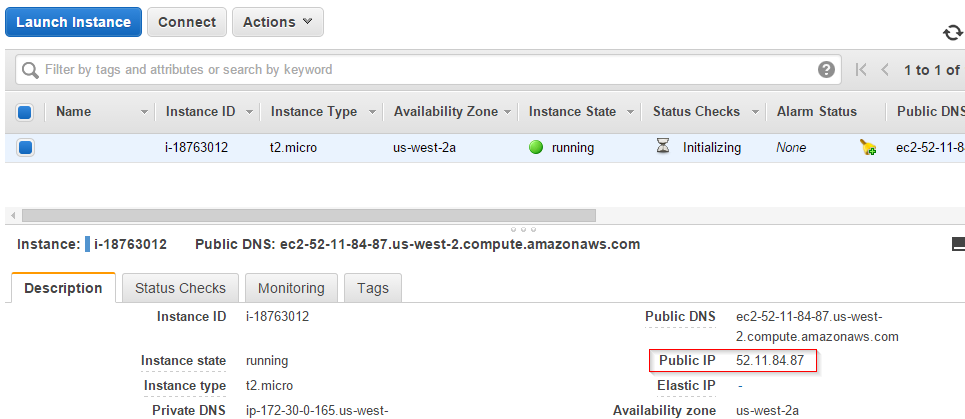
So the workflow is as basic as navigating to the instance in the AWS Console, copying its IP and pasting into a generic “AWS-Instance” session which has the relevant key and username (often it’s “ec2-user” or “ubuntu”) and then loading that, no passwords required.
In the AWS Console and in the properties of an EC2 instance, select the IP:
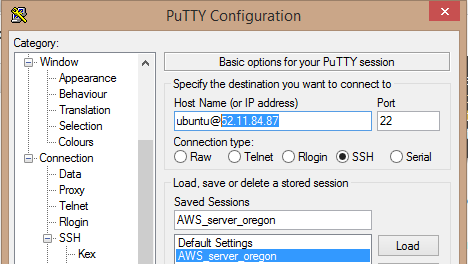
Now, go to PuTTY and load a saved session with the predefined key pair, paste the IP over the placeholder:
Launch the session and you’re done.
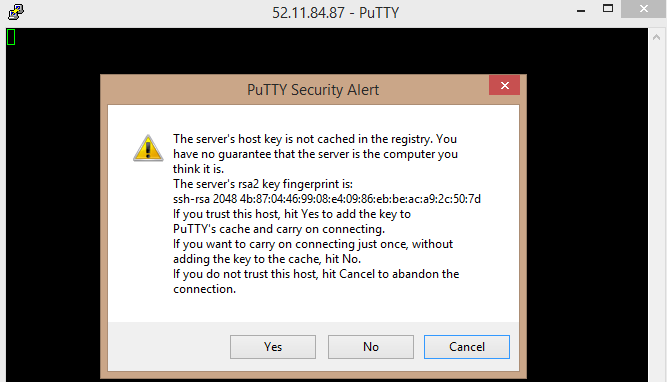
One slight annoyance I have with PuTTY and AWS is the new fingerprint warning ones receives basically every single time, it’s another click I need to do, if anyone knows how to disable that, I’d be interested!
Happy SSHing.