Installing MoinMoin on Nginx and uWSGI
MoinMoin is a great wiki having used it on and off over the years. This post demonstrates how to get MoinMoin up and running with Nginx and uWSGI.
Install nginx
Simply install via package:
yum install nginx -yThen configure /etc/nginx/nginx.conf with a section similar to this before the existing default section:
server {
    server_name wiki.easyas.info;

    access_log /var/log/nginx/access.log;
    error_log /var/log/nginx/error.log;

    location / {
        include uwsgi_params;
        uwsgi_pass unix:///usr/local/local/share/moin/moin.sock;
        uwsgi_modifier1 30;
    }
}Install uWSGI
uWSGI is the backend that MoinMoin prefers to run on, but you need a C compiler to install it, install GCC:
yum install gcc -yThen, install uWSGI via pip:
pip install uwsgiWhich should allow one to run uwsgi –version but didn’t for me, it’s not critical
however, we’ll be using the full path anyway.
Create the logging directory too, uwsgi might not run without it:
mkdir /var/log/uwsgiInstall MoinMoin
So with the basic infrastructure in place, we now install and configure MoinMoin.
Download the binary from http://static.moinmo.in/files/moin-1.9.8.tar.gz then extract it to somewhere useful i.e. /tmp/moin-1.9.8.:
cd /tmp
wget http://static.moinmo.in/files/moin-1.9.8.tar.gz
tar xvf moin-1.9.8.tar.gz
Install moinmoin by executing the setup.py script within the moin-* directory:
cd moin-*
python setup.py install --prefix=/usr/local
Copy /tmp/moin-1.9.8/wiki/server/moin.wsgi to /usr/local/local/share/moin/moin.wsgi.
Configure /usr/local/local/share/moin/moin.wsgi, somewhere after ‘import sys, os’, add these lines:
sys.path.insert(0, '/usr/local/local/lib/python2.7/site-packages/')
sys.path.insert(0, '/usr/local/local/share/moin/')
Next up, to get moinmoin up and running on uwsgi, we need to create the file /usr/local/local/share/moin/uwsgi.ini and populate it with this:
[uwsgi]
uid = nginx
gid = nginx
socket = /usr/local/local/share/moin/moin.sock
chmod-socket = 660
logto = /var/log/uwsgi/uwsgi.log

chdir = /usr/local/local/share/moin/
wsgi-file = moin.wsgi

master
workers = 3
max-requests = 200
harakiri = 30
die-on-term
Note that I’ve changed the user to ‘nginx’ to align with the Nginx account which simplifies permissions. Obviously some people aren’t fond of this idea and would rather run each service under their own account, but for my purposes of this wiki I’m happy enough.
Create the file /etc/init/moin.conf for the moin service:
description "moin uwsgi service"

start on runlevel [2345]
stop on runlevel [!2345]

chdir /usr/local/local/share/moin
exec /usr/local/bin/uwsgi /usr/local/local/share/moin/uwsgi.ini
respawn
Copy /tmp/moin-1.9.8/wiki/config/wikiconfig.py to /usr/local/local/share/moin/wikiconfig.py.
Now edit the file and update various settings accordingly, much can stay as default, but it’s likely you’ll at least want to change these ones:
- sitename i.e. “easyAsWiki”
- page_front_page i.e. “StartPage”
- superuser i.e. [u”AdminUser”, ]
- acl_rights_before i.e. [u”AdminUser:read,write,delete,revert,admin”]
Finally, change the ownership of various directories to play nicely as the nginx user:
chown nginx:nginx -R /usr/local/local/share/moin
chown nginx:nginx -R /var/log/nginx
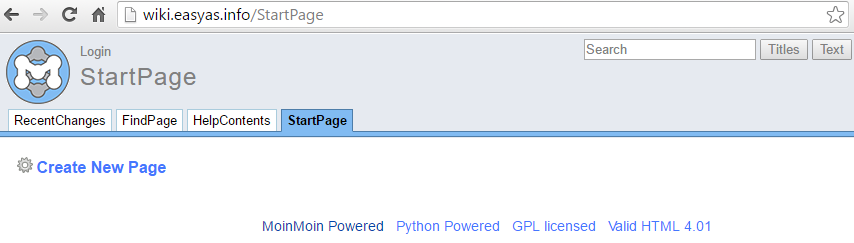
chown nginx:nginx -R /var/log/uwsgiSo that’s about it for the setup, you can now start nginx service nginx start and start the uwsgi server start moin. Then navigate to the IP of your instance and you should see MoinMoin’s start page come up.